One Irrigation Zone Not Working? Here's How to Diagnose It
When a single irrigation zone fails to run while the rest of the system works normally, the problem is almost always in one of three places: the solenoid on the zone valve, the low-voltage wiring between the controller and that valve, or the controller terminal for that specific zone. Because all other zones are functioning, the controller itself, the water supply, and the main system components are confirmed working — the fault is isolated to the circuit for the one dead zone.
Start Here: The Manual Bleed Test
Every zone valve in a residential irrigation system has a manual bleed mechanism — a screw or solenoid that can be opened by hand to let water flow through the valve without any electrical signal from the controller. This test takes less than one minute and immediately tells you whether the valve body itself is the problem or whether the fault is electrical.
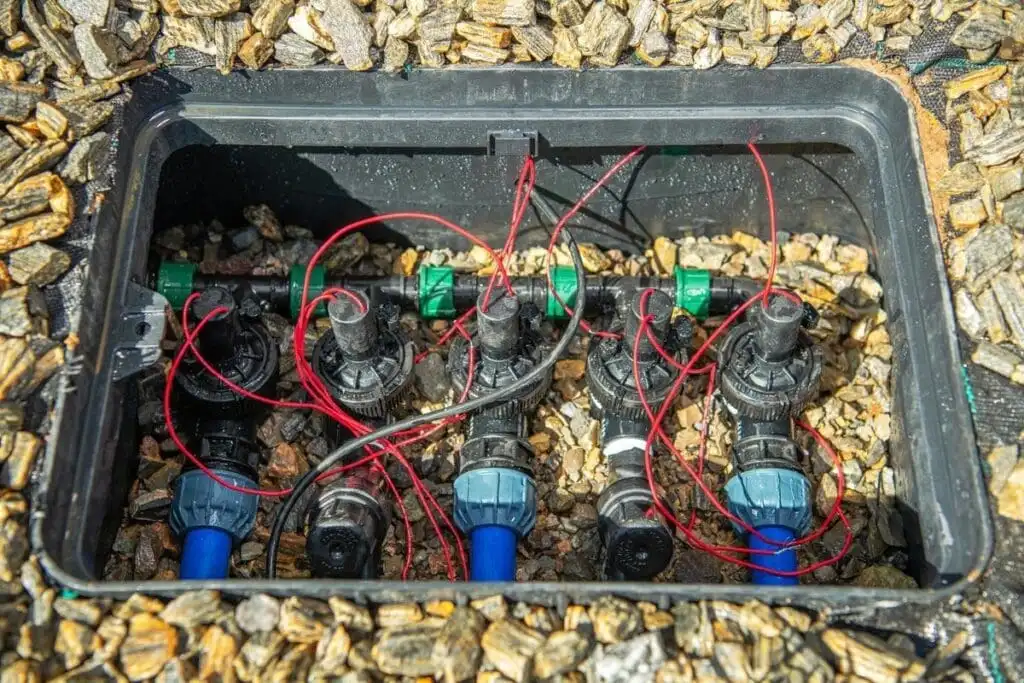
When one zone fails to respond to the controller while others run normally, this is the starting point for diagnosis: the solenoid on the non-functioning valve and the wiring connections at this manifold are the first things to check. On Tulsa-area systems, spring startup often reveals solenoids or wiring splices that were damaged during winter and now prevent one or more zones from opening.
How to Perform the Manual Bleed Test
Step 1: Locate the Valve Box
Locate the valve box for the non-functioning zone. If you do not know where the valve boxes are, see our blog post on locating buried sprinkler valve boxes for the search method.
Step 2: Identify the Correct Valve
On a multi-valve manifold, run the other zones from the controller to confirm which valves activate — the remaining valve that never opens is the one for your dead zone.
Step 3: Find the Manual Bleed
Most residential solenoid valves have a manual bleed screw on the side of the valve body, or the solenoid itself can be manually opened by turning it counterclockwise one quarter to one half turn. Rainbird valves typically have a small bleed screw on the side; Hunter valves are typically bled by turning the solenoid; Toro valves vary by model.
Step 4: Open the Bleed & Observe
Open the manual bleed slowly with the irrigation water supply on. If the zone runs, the valve body is functional and the fault is electrical. If the zone does not run, the valve diaphragm has failed and needs replacement. Always close the manual bleed after confirming the result — an open manual bleed left unattended will run the zone continuously.
Cause 1: Failed Solenoid
The solenoid is the electromagnetic component that sits on top of the zone valve body and opens the valve when it receives a 24-volt AC signal from the controller. A failed solenoid either does not respond to the signal at all (complete failure) or responds intermittently. Solenoid failure is the most common cause of a single non-functioning zone in Tulsa-area residential irrigation systems, particularly at spring startup. Oklahoma's winters produce hard freezes that can damage solenoid components — particularly water that has accumulated inside the solenoid housing and expands as it freezes.
Resistance Test with a Multimeter
A functional solenoid should measure 20 to 60 ohms of resistance between its two wire terminals. A reading near zero (short circuit) or infinite ohms (open circuit) confirms failure.
Swap Test (No Multimeter)
Swap the solenoid from a working valve onto the non-functioning valve. If the previously dead zone now works, the original solenoid was the failure. Note: Rainbird and Hunter solenoids are not interchangeable.
Replacement Cost
Replacement solenoids for common residential valve brands (Rainbird, Hunter, Toro) cost $10 to $25 at hardware stores and irrigation supply companies throughout the Tulsa area. Solenoid replacement typically takes two to three minutes and requires no tools.
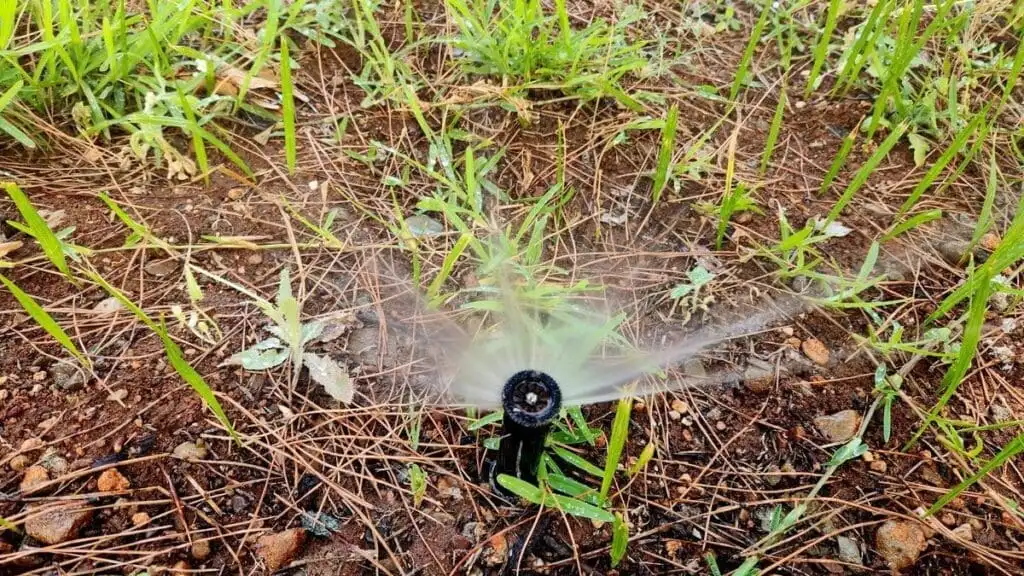
For solenoid replacement, full excavation is not required: the solenoid sits on top of the valve body and is accessible inside the valve box without any digging. Full valve body replacement (required when the manual bleed test confirms the diaphragm has failed) does require excavation to access the valve connections on the supply and zone lines.
Cause 2: Wiring Break or Faulty Connection
Every zone valve is connected to the irrigation controller by two wires: a zone-specific wire and a common wire shared among all valves. A break in either wire, or a failed connection at either the controller terminal or the valve splice, will prevent the zone from receiving the electrical signal needed to open the valve. Wire faults are the second most common cause of a single non-functioning zone in Tulsa-area systems.
Wire Splices in the Valve Box
Connections can fail over time — particularly when the connector was not properly waterproofed, when corrosion develops, or when freeze events crack connector nuts. Inspect all wire connections for the affected zone and reconnect with a fresh direct-burial waterproof connector.
Wire Cuts from Landscaping Work
Irrigation wiring is typically buried at 6 to 8 inches in Tulsa-area residential systems — shallow enough that edgers, spades, or landscape maintenance work can cut through it. A zone that worked until recent landscaping activity is a strong indicator of a cut wire.
Controller Terminal Failure
The controller terminal for the dead zone may be damaged or loose. Test by temporarily moving the zone wire to an unused terminal and reprogramming that terminal — if the zone now works from the new terminal, the original terminal has failed.
Freeze Damage to Above-Grade Wiring
Irrigation wiring that runs above grade — near the backflow preventer, along the house foundation, or where a previous repair left wire exposed — is vulnerable to freeze damage. Wiring insulation becomes brittle in extreme cold and can crack, creating an intermittent connection or a short to ground.
Wiring Test Without a Multimeter
1. At the controller, remove the zone wire and the common wire for the dead zone. 2. Twist the two wire ends together (zone wire + common wire) at the controller. 3. Go to the valve box and test continuity between the solenoid pigtail wires with a cheap battery-powered continuity tester ($5–10 at hardware stores).
4. Continuity present: the wiring is intact — the solenoid is the likely failure. 5. No continuity: there is a break in the wire between the controller and the valve. 6. Untwist the wires at the controller when done and reconnect each to its proper terminal.
Cause 3: Controller Programming Error or Zone Skip
Before assuming a mechanical or electrical failure, verify the controller is actually sending a signal to the problem zone. Controller programming issues account for a meaningful number of service calls — particularly after power outages, battery replacement, or seasonal programming changes.
Zone Run Time Set to Zero
On many controller models, a zone with a run time of zero minutes will be skipped entirely during auto operation without any error indication. Confirm the dead zone has a non-zero run time assigned.
Zone Turned Off or Disabled
Most modern controllers allow individual zones to be disabled without deleting their programming. Check whether the zone is toggled off in the seasonal adjustment, zone enable, or skip settings — this is sometimes changed accidentally when programming other zones.
Rain Sensor Lockout
A rain sensor that has been triggered — either by actual rain or by a sensor malfunction — bypasses all irrigation zones until the sensor dries out and resets. On controllers with rain sensor bypass switches, confirm the bypass switch is in the correct position.
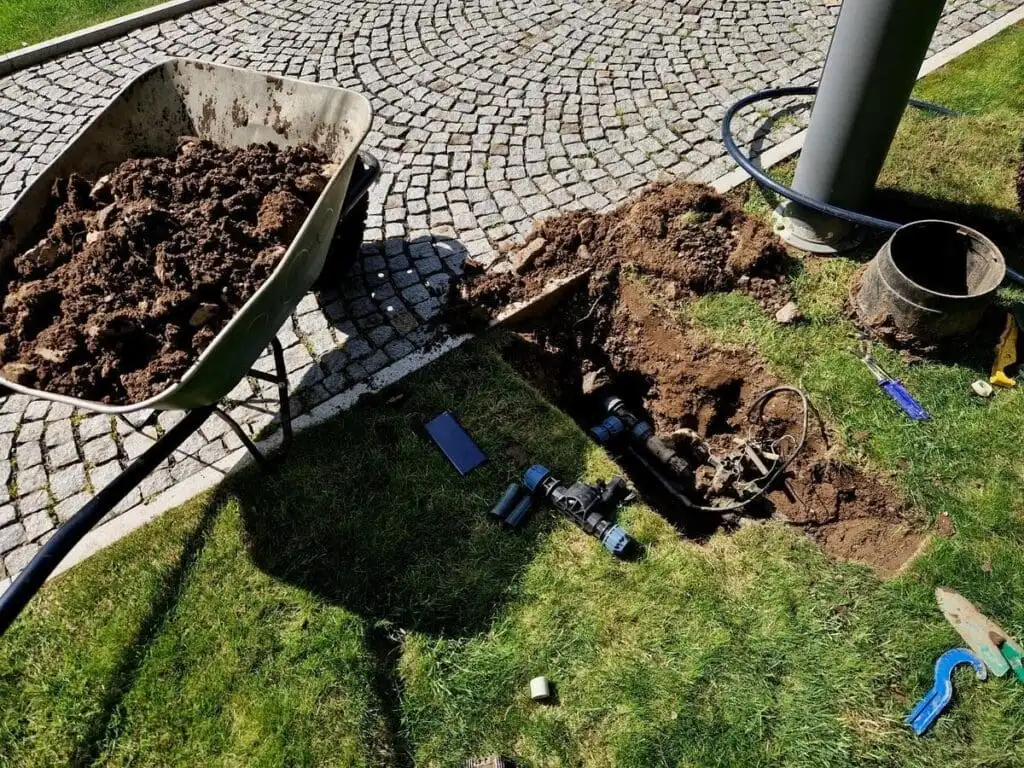
When this head and every other head on a zone fail to respond while all other zones work, the problem is upstream of the heads: solenoid, wiring, or controller programming. The heads and nozzles themselves are not at fault when an entire zone is non-functional. Confirming this with the manual bleed test before pursuing any head-level repairs saves time and unnecessary expense.
Cause 4: Failed Valve Diaphragm
If the manual bleed test confirms the zone does not run even with the bleed open, the valve diaphragm or valve body has failed. The diaphragm is a rubber membrane inside the valve that controls water flow — when it tears, stiffens, or becomes distorted, the valve can no longer open or hold pressure correctly. Diaphragm failure requires full valve body access, which typically means excavating the valve box area to expose the supply and zone line connections. This repair is more involved than solenoid replacement but restores the zone to full function.
Need Help Diagnosing or Repairing Your Irrigation System in Tulsa?
Complete Lawn Care Tulsa provides irrigation diagnostics, solenoid replacement, wiring repairs, and valve replacement throughout the Tulsa area. If you've run through these steps and still can't identify the fault, or if you'd prefer a professional to handle the repair, get in touch with our team.